How to Soundproof a Room for Drumming
If you play the drums at home, you’ve probably wondered how to soundproof a room for drumming. Whether you’re practicing daily or recording tracks, controlling the sound in your space is essential. Not only will it help with the quality of the sound within your room, but it will also keep you in good standing with your neighbours.
Why Soundproofing Matters
Drums are loud, no doubt about it. Their vibrations travel through walls, floors, and ceilings with surprising force. Therefore, effective soundproofing isn’t just about quieting your space—it’s about controlling the noise and preventing it from escaping.
Fortunately, with a few smart adjustments, you can significantly reduce the noise level. Whether you live in an apartment or a house, the right setup makes all the difference.
Understand the Basics of Sound
Before diving into gear and tools, it helps to understand how sound moves. Sound travels in waves and can pass through air and solid surfaces. As a result, you need to address two key factors: airborne noise and structural vibrations.
Airborne noise includes the sound you hear when you’re outside the room. Structural vibrations are more subtle—they move through the building materials and can travel far. Both need attention when sound proofing your drum space.
Choose the Right Room
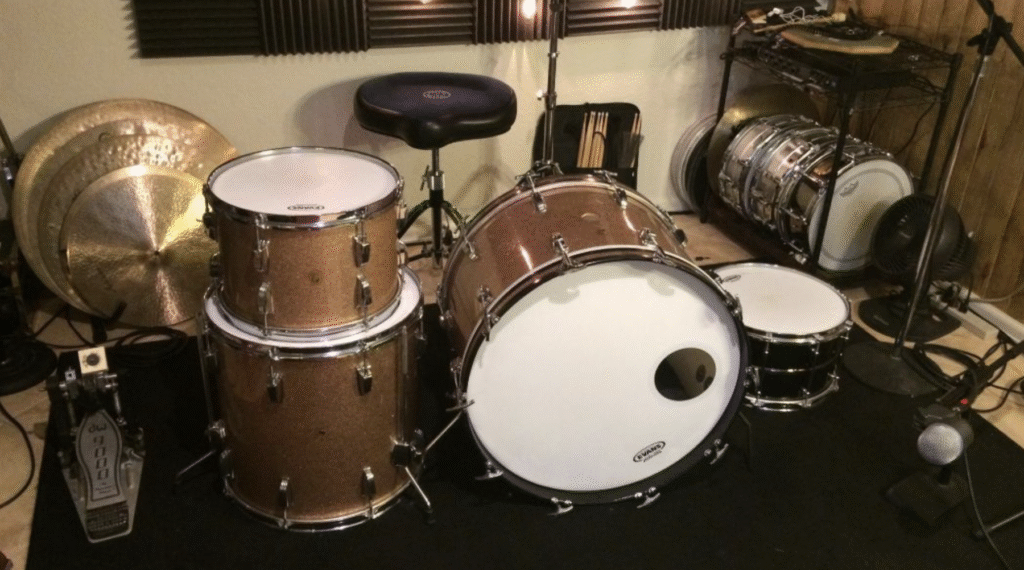
Start with choosing the best room in your home. Ideally, pick a space with minimal windows and solid walls. Basements are great because they’re often underground, naturally reducing sound leakage. If a basement isn’t available, choose a room away from shared walls.
In addition, smaller rooms are easier to manage acoustically. That makes them perfect for personal practice spaces or small home studios.
Seal All Gaps and Cracks
Even small openings can leak a surprising amount of sound. So, make sure you seal any gaps around doors, windows, and vents. Weather stripping and acoustic sealant are cost-effective solutions.
Adding a solid-core door can help too. Compared to hollow-core doors, they block significantly more sound. Also, install a door sweep to cover the gap between the floor and the bottom of the door.
Add Mass to the Walls
To block noise, you need mass. Heavier walls stop sound more effectively. If you can, add mass loaded vinyl (MLV) to the walls and ceilings. This flexible but dense material is ideal for sound blocking.
Alternatively, hang thick moving blankets or quilts. While not as effective as MLV, they still reduce echo and airborne sound. For extra effectiveness, layer them with foam panels or rugs.
Treat the Floor and Ceiling
Don’t forget to soundproof your floor and ceiling. Lay down a thick rug or carpet, and place rubber mats beneath your drum kit. Not only will this dampen vibrations, but it will also stop your drums from moving around while playing.
For the ceiling, consider using acoustic panels or adding insulation between the ceiling and the floor above. These treatments reduce upward sound travel and help contain your drum noise.
Use Isolation Pads and Drum Mats
To further limit vibrations, place your kit on a drum rug or isolation platform. You can buy premade platforms or build your own with plywood and foam padding.
Drum mats are essential for keeping your kit in place. However, they also reduce the amount of vibration that travels through the floor. Combine them with rubber feet for your stands and pedals to help reduce impact noise.
Acoustic Treatment vs. Soundproofing
Many drummers confuse acoustic treatment with soundproofing. Although both improve your room, they serve different purposes.
Soundproofing blocks noise from leaving the room. Acoustic treatment improves the sound inside the room. It helps eliminate echoes and reflections, giving you a clearer sound while playing or recording.
So, it’s best to combine both. Add bass traps in corners, acoustic foam on walls, and diffusion panels where needed. Together, these elements enhance your sound and reduce complaints.
Consider an Electronic Drum Kit
If your goal is silent practice, switching to an electronic kit may be worth it. These kits are much quieter and allow for headphone use. While not entirely silent, they drastically reduce noise compared to acoustic drums.
Even with an electronic kit, placing it on an isolation platform can help with foot pedal and pad noise.
Communicate with Neighbors
Although it’s not a gear tip, communication goes a long way. Let your neighbors know about your playing schedule and be open to feedback. That small gesture builds trust and helps avoid conflicts.
If possible, limit practice to reasonable hours. You don’t want to be that drummer who wakes the neighborhood at midnight.
Final Thoughts on How to Soundproof a Room
Learning how to soundproof a room for drumming can feel overwhelming, but it’s absolutely achievable. With a mix of sealing, added mass, isolation, and acoustic treatment, you can create a space that’s drummer-friendly and neighbor-approved.
At Drumnuts, we know that your playing deserves to be heard—but only when and where you want it to be. Soundproofing empowers you to practice more often and with fewer interruptions.
So, start small and build your perfect drum room today. Your ears—and everyone else’s—will thank you!